I just shared some ssh keys with myself and ran into this error telling me that
I did not set the correct permissions on my key.
@@@@@@@@@@@@@@@@@@@@@@@@@@@@@@@@@@@@@@@@@@@@@@@@@@@@@@@@@@@
@ WARNING: UNPROTECTED PRIVATE KEY FILE! @
@@@@@@@@@@@@@@@@@@@@@@@@@@@@@@@@@@@@@@@@@@@@@@@@@@@@@@@@@@@
Permissions 0750for'/home/waylon/.ssh/id_*******' are too open.
It is required that your private key files are NOT accessible by others.
This private key will be ignored.
Load key "/home/waylon/.ssh/id_*******": bad Permissions
repo: Permission denied (publickey,gssapi-keyex,gssapi-with-mic).
fatal: Could not read from remote repository.
Please make sure you have the correct access rights
and the repository exists.
Mr-Destructive [1] has done a fantastic job with djankata [2]. Highly recommend taking a look.
Django + Markata blog starter
References:
[1]: https://github.com/Mr-Destructive
[2]: https://github.com/Mr-Destructive/djankata
Check out nvim [1] by Allaman [2]. It’s a well-crafted project with great potential.
Minimal, blazingly fast, and pure Lua based Neovim configuration for my work as DevOps/Cloud Engineer with batteries included for Python, Golang, and, of course, YAML
References:
[1]: https://github.com/Allaman/nvim
[2]: https://github.com/Allaman
Looking for inspiration? dotfiles [1] by jessarcher [2].
$HOME sweet $HOME
References:
[1]: https://github.com/jessarcher/dotfiles
[2]: https://github.com/jessarcher
With the latest release of version of nvim 0.8.0 we get access to a new winbar
feature. One thing I have long wanted somewhere in my nvim is navigation for
pairing partners or anyone watching can keep track of where I am. As the
driver it’s easy to keep track of the file/function you are in. But when you
make big jumps in a few keystrokes it can be quite disorienting to anyone
watching, and having this feedback to look at is very helpful.
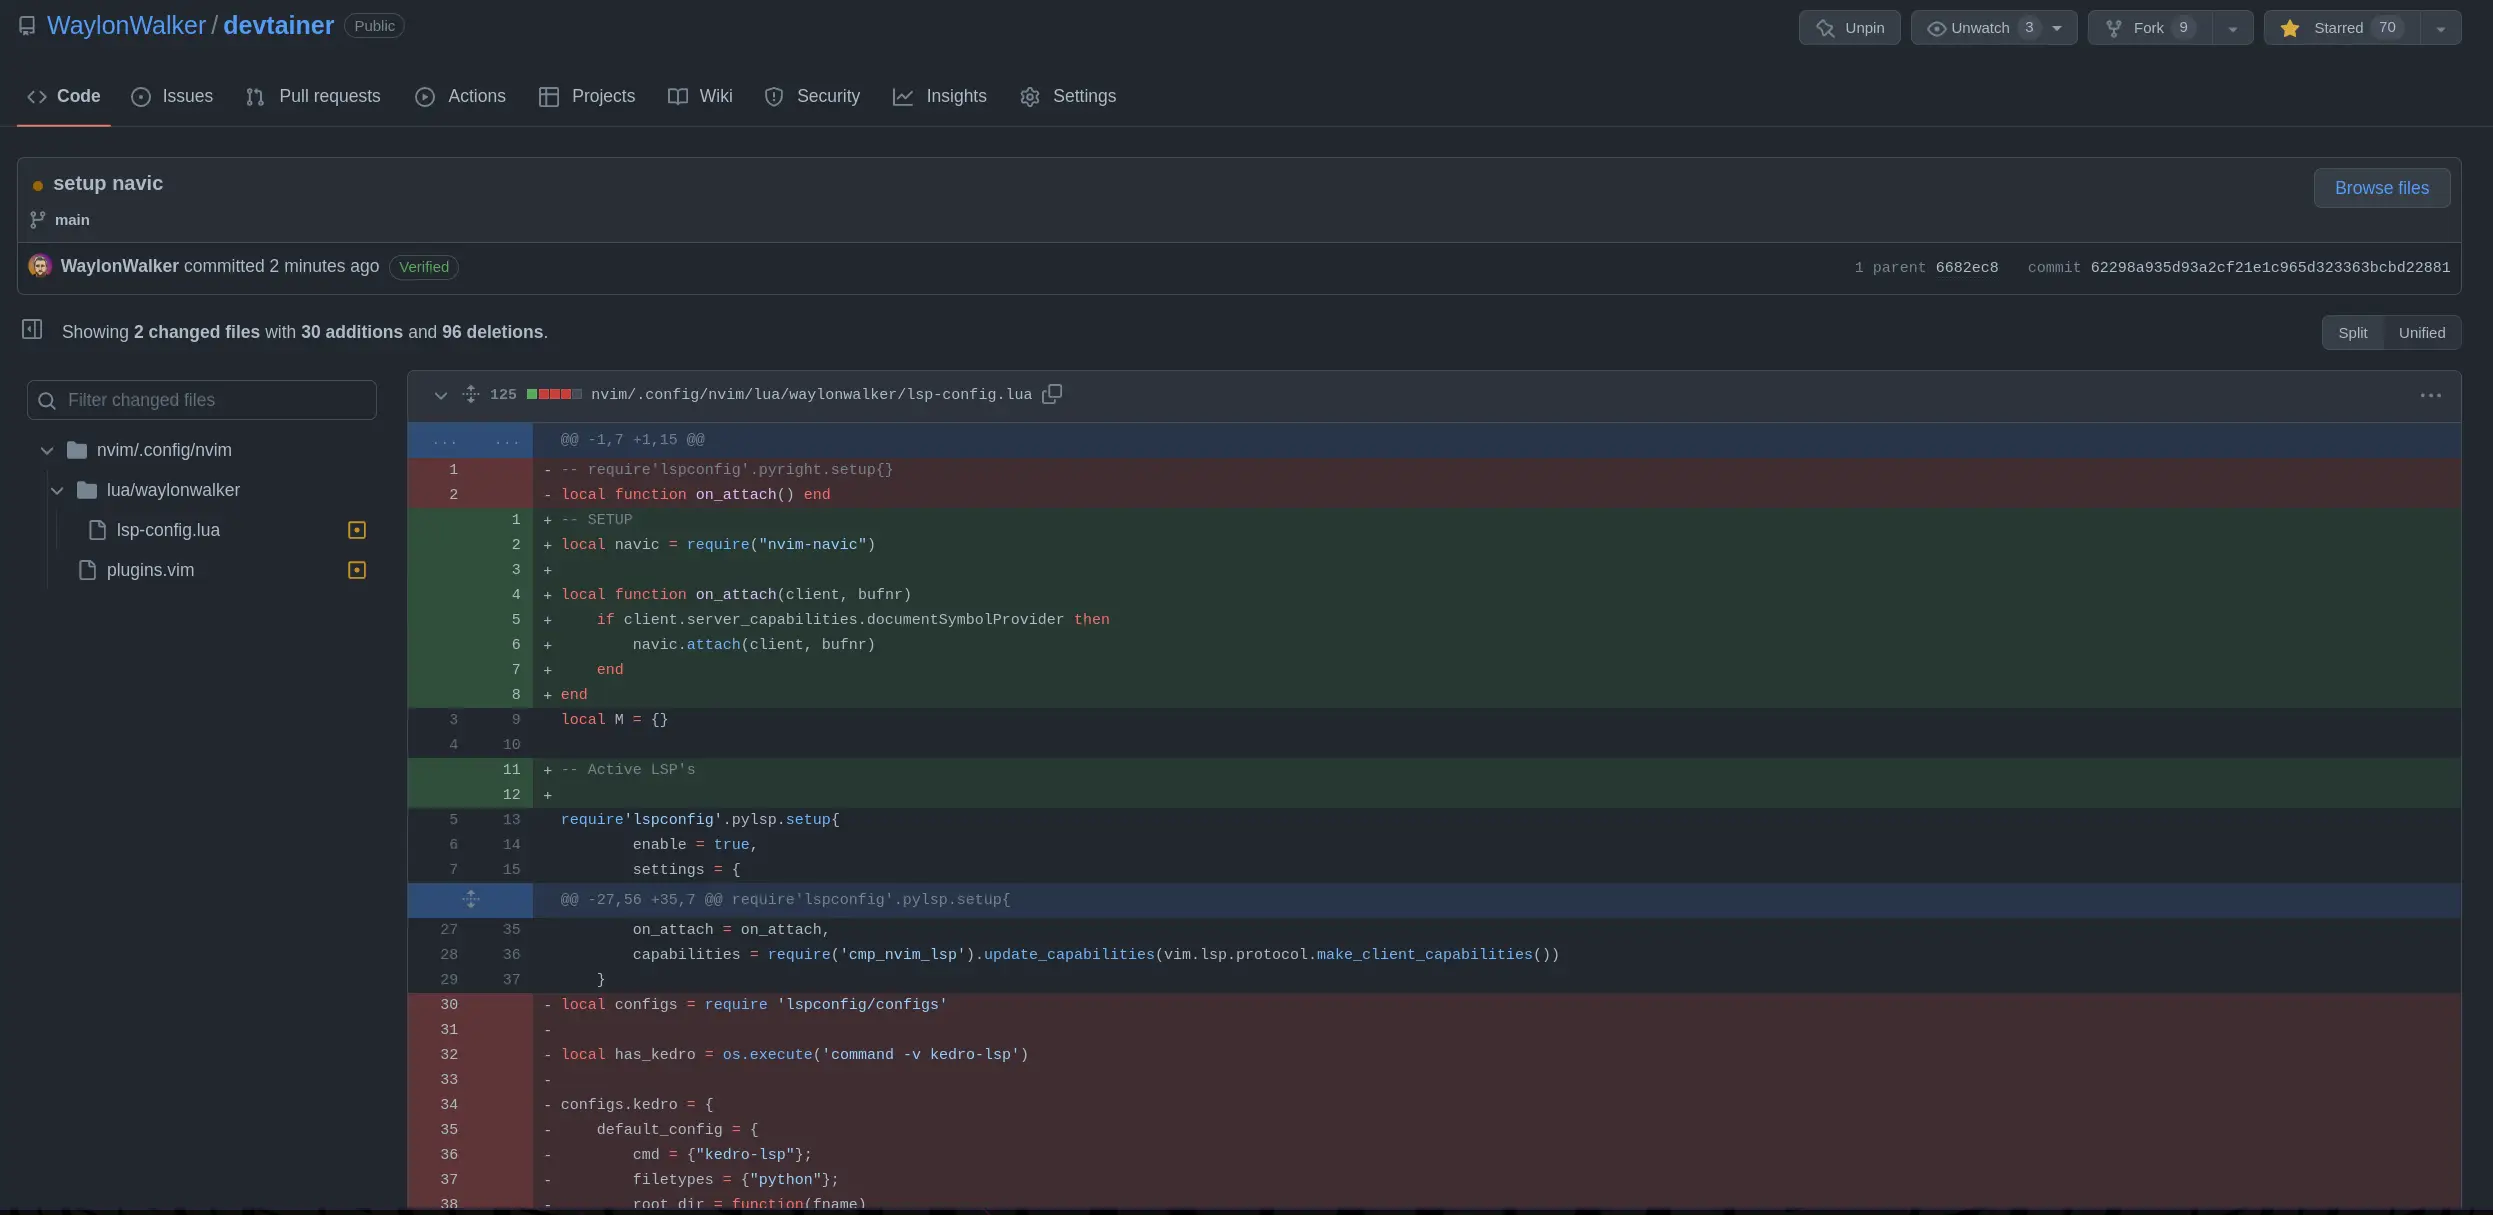
Then you need to use that on_attach function on all of the lsp’s that you
want navic to work on.
Then in a lua file you need to setup the winbar, for now I put this in my
lsp-config settings file, but eventually I want to move my settings to lua and
put it there.
Just starred nvim-navic [1] by SmiteshP [2]. It’s an exciting project with a lot to offer.
Simple winbar/statusline plugin that shows your current code context
References:
[1]: https://github.com/SmiteshP/nvim-navic
[2]: https://github.com/SmiteshP
I came across winbar.nvim [1] from fgheng [2], and it’s packed with great features and ideas.
winbar config for neovim
References:
[1]: https://github.com/fgheng/winbar.nvim
[2]: https://github.com/fgheng
I came across pre-commit [1] from pre-commit [2], and it’s packed with great features and ideas.
A framework for managing and maintaining multi-language pre-commit hooks.
References:
[1]: https://github.com/pre-commit/pre-commit
[2]: https://github.com/pre-commit
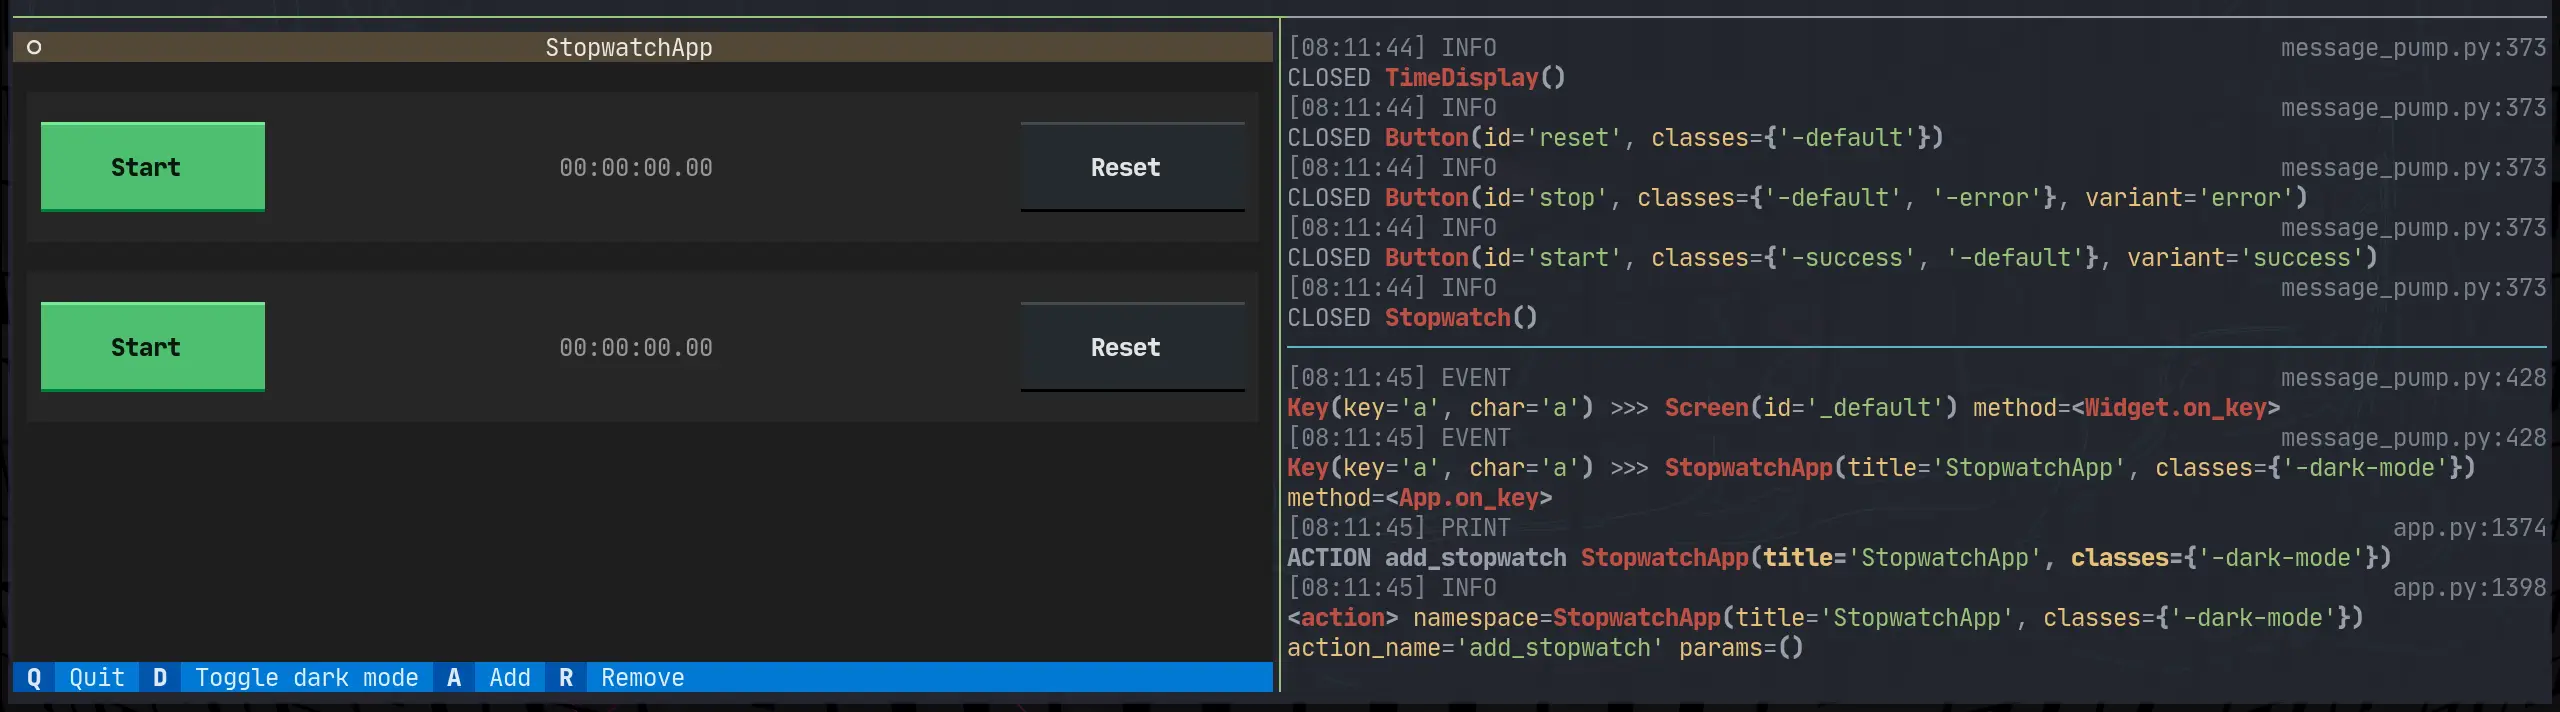
I really like having global cli command installed with pipx. Since textual
0.2.x (the css release) is out I want to be able to pop into textual devtools
easily from anywhere.
In order to install optional dependencies with pipx you need to first install
the library, then inject in the optional dependencies using the square bracket
syntax.
I am working through the textual tutorial, and I want to put it in a proper cli
that I can pip install and run the command without textual run --dev app.py.
This is a fine pattern, but I also want this to work when I don’t have a file
to run.
Now to get devtools through a cli without running through textual run --dev.
I pulled open the textual cli source code, and this is what it does at the time
of writing.
Note: I used sys.argv as a way to implement a --dev quickly tutorial. For a
real project, I’d setup argparse, click, or typer. typer is my go to these
days, unless I am really trying to limit dependencies, then the standard
library argparse might be what I go with.
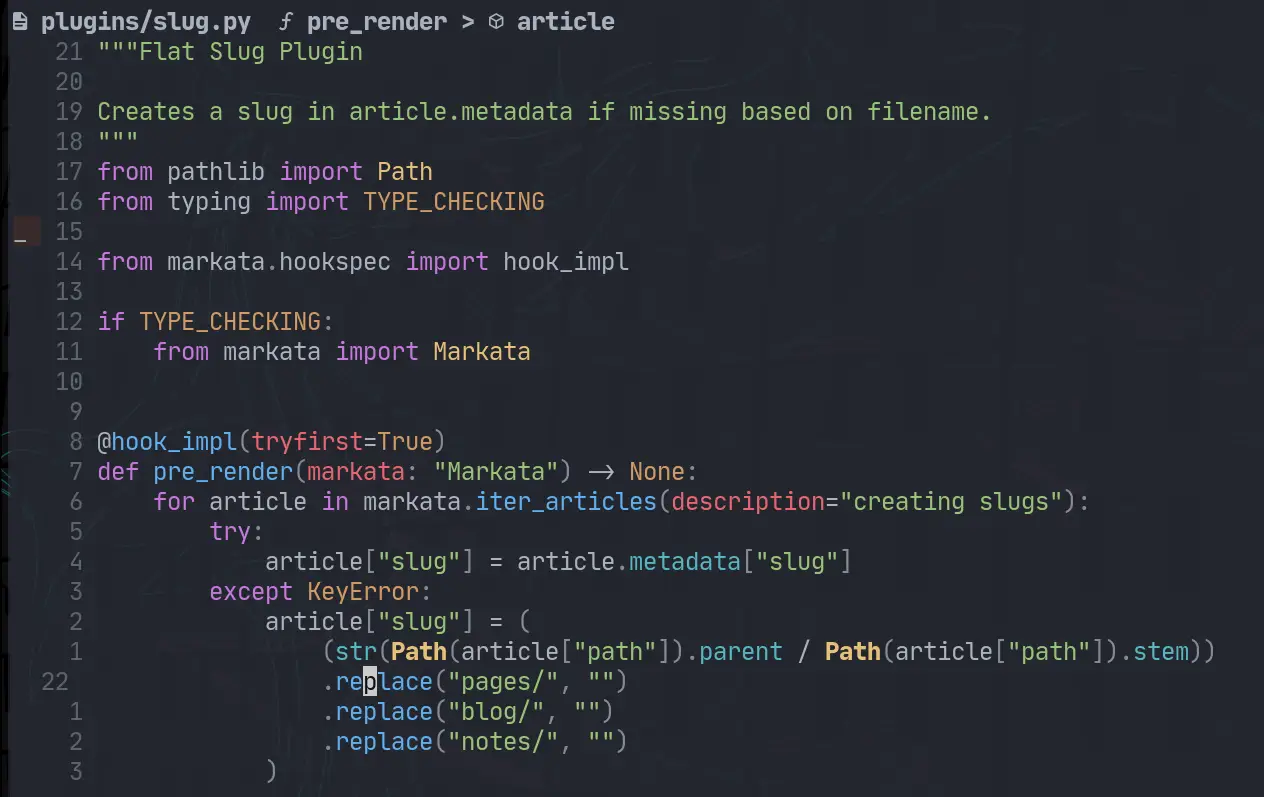
deftui():fromtextual.featuresimportparse_featuresimportosimportsysdev="--dev"insys.argv# this works, but putting it behind argparse, click, or typer would be much betterfeatures=set(parse_features(os.environ.get("TEXTUAL","")))ifdev:features.add("debug")features.add("devtools")os.environ["TEXTUAL"]=",".join(sorted(features))app=StopwatchApp()app.run()if__name__=="__main__":tui()
I like AnH0ang’s [1] project kedro-aim [2].
A kedro plugin that enables logging to the ml experiment tracker aim
References:
[1]: https://github.com/AnH0ang
[2]: https://github.com/AnH0ang/kedro-aim
The work on PrismLauncher [1] by PrismLauncher [2].
A custom launcher for Minecraft that allows you to easily manage multiple installations of Minecraft at once (Fork of MultiMC)
References:
[1]: https://github.com/PrismLauncher/PrismLauncher
[2]: https://github.com/PrismLauncher
I’m really excited about learn-cloudformation [1], an amazing project by widdix [2]. It’s worth exploring!
Learn how to use Infrastructure as Code on AWS with the help of CloudFormation.
References:
[1]: https://github.com/widdix/learn-cloudformation
[2]: https://github.com/widdix
For far too long I have had to fidget with v4l2oloopback after reboot. I’ve
had this happen on ubuntu 18.04, 22.04, and arch.
After a reboot the start virtual camera button won’t work, It appears and is
clickable, but never turns on. Until I run this command.
sudo modprobe v4l2loopback video_nr=10card_label="OBS Video Source"exclusive_caps=1
Today I learned that you can turn on kernel modules through some files in /etc/modules...
This is what I did to my arch system to get it to work right after boot.
echo"v4l2loopback"| sudo tee /etc/modules-load.d/v4l2loopback.conf
echo"options v4l2loopback video_nr=10 card_label=\"OBS Video Source\" exclusive_caps=1"| sudo tee /etc/modprobe.d/v4l2loopback.conf
I ran into an issue where I was unable to ask localstack for its status. I
would run the command and it would tell me that it didn’t have permission to
read files from my own home directory. Let’s fix it
It dawned on me that the first time I ran localstack was straight docker, not
the python cli. When docker runs it typically runs as root unless the
Dockerfile sets up a user and group for it.
If you have sudo access to the machine you are on you can recursively change
ownership to your user and group. I chose to just give myself ownership of my
whole ~/.cache directory you could choose a deeper directory if you want. I
feel pretty safe giving myself ownership to my own cache directory on my own
machine.
The first example that you can use right now is markata-gh. It will render
repos by GitHub topic and user using the gh cli, which is available in github
actions!
Get it with a pip install
pip install markata-gh
Use it with some jinja in your markdown.
## Markata plugins

It uses the logged in uer by default.

{% gh_repo_list_topic "markata" %}

You can more explicitly grab your username, and a topic.
{% gh_repo_list_topic "waylonwalker", "personal-website" %}
The jinja extension details are for another post, but this is how markata-gh
exposes itslef as a jinja extension.
classGhRepoListTopic(Extension):tags={"gh_repo_list_topic"}def__init__(self,environment):super().__init__(environment)defparse(self,parser):line_number=next(parser.stream).linenotry:args=parser.parse_tuple().itemsexceptAttributeError:raiseAttributeError("Invalid Syntax gh_repo_list_topic expects <username>, or <username>,<topic> both must have the comma")returnnodes.CallBlock(self.call_method("run",args),[],[],"").set_lineno(line_number)defrun(self,username=None,topic=None,caller=None):"get's markdown to inject into post"returnrepo_md(username=username,topic=topic)
In my adventure to learn django, I want to be able to setup REST api’s to feed
into dynamic front end sites. Potentially sites running react under the hood.
I already have the following model from last time I was playing with django. It
will suffice as it is not the focus of what I am learning for now.
Note the name of the model class is singular, this is becuase django will
automatically pluralize it in places like the admin panel, and you would end
up with Itemss.
fromdjango.dbimportmodels# Create your models here.classItem(models.Model):name=models.CharField(max_length=200)created=models.DateTimeField(auto_now_add=True)def__str__(self):returnf"{self.priority}{self.name}"
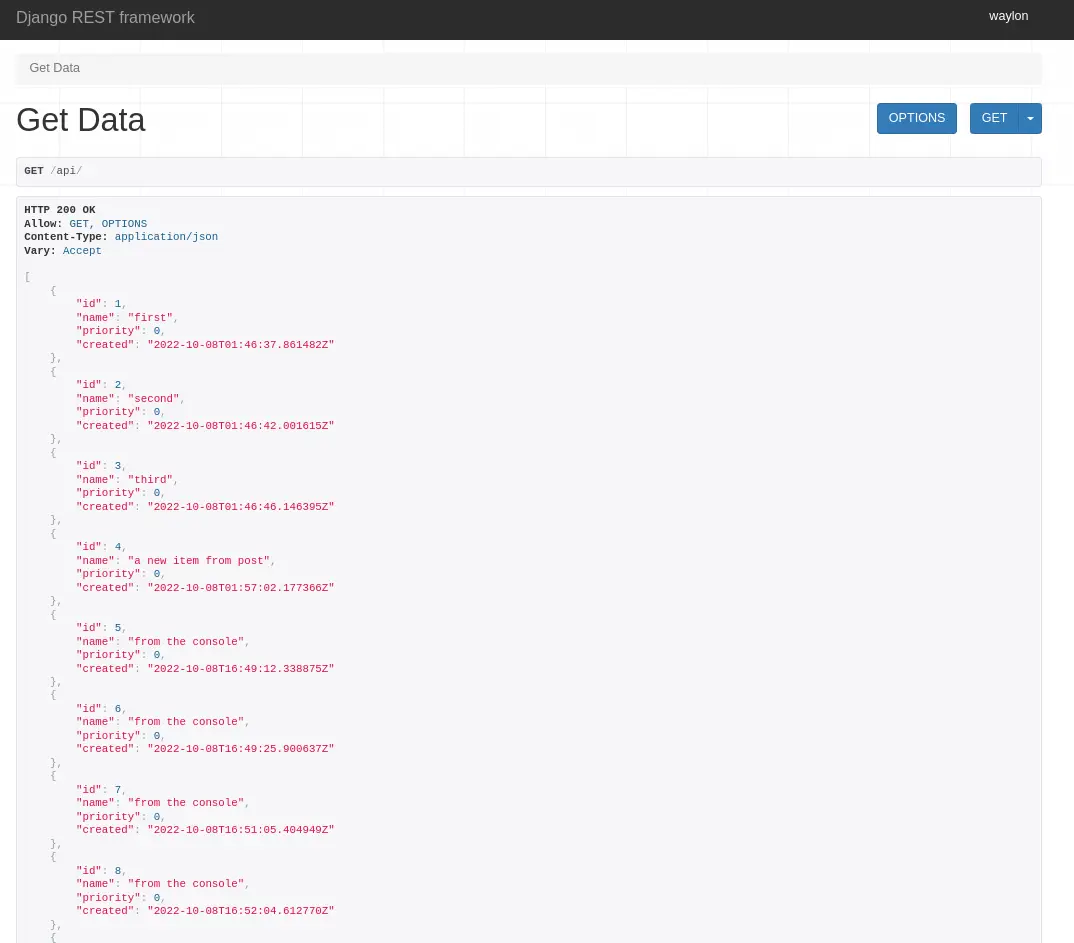
Next I will make some dummy data to be able to return. I popped open ipython
and made a few records.
Next we need to set up a serializer to seriaze and de-serialize data between
our model and json. You can specify each field individually or all of them by
passing in __all__.
Now we need a view leveraging the djangorestframework. The serializer we
just created will be used to serialize all of the rows into a list of objects
that Response can handle.
Note: to return a collection of model objects we need to set many to True